Curious about how we can improve the quality of your website, app or platform?

Book a call with Bart
Nowadays, every website uses a Content Management System, or CMS for short. This ensures that you can easily and quickly make changes and add new messages, projects, portfolio documents or collaborators to your website. The best-known CMS is, of course, from WordPress, but this guide was written for the Webflow CMS. It is a very user-friendly system, but if you are used to a different CMS, for example the WordPress CMS, it takes some time to switch. So here's the Webflow CMS in 7 steps.

1. Logging in to the Webflow Editor 💻
To begin with, logging in is of course a requirement. You're going to keep doing that? edit behind the website URL. You should have seen a similar screen before to create an account. If not, you should check your inbox. When you are added to your website's Webflow CMS, you will receive a link via your email that allows you to create an account to log in. If you've already created an account, enter your details and log in.

2. The Webflow CMS 🧙 menu
The menu is the central point from which you can select the pages you want to edit, add a collection item, and view incoming messages (if your website uses one or more contact forms). As you can see, the menu is at the bottom of the page.
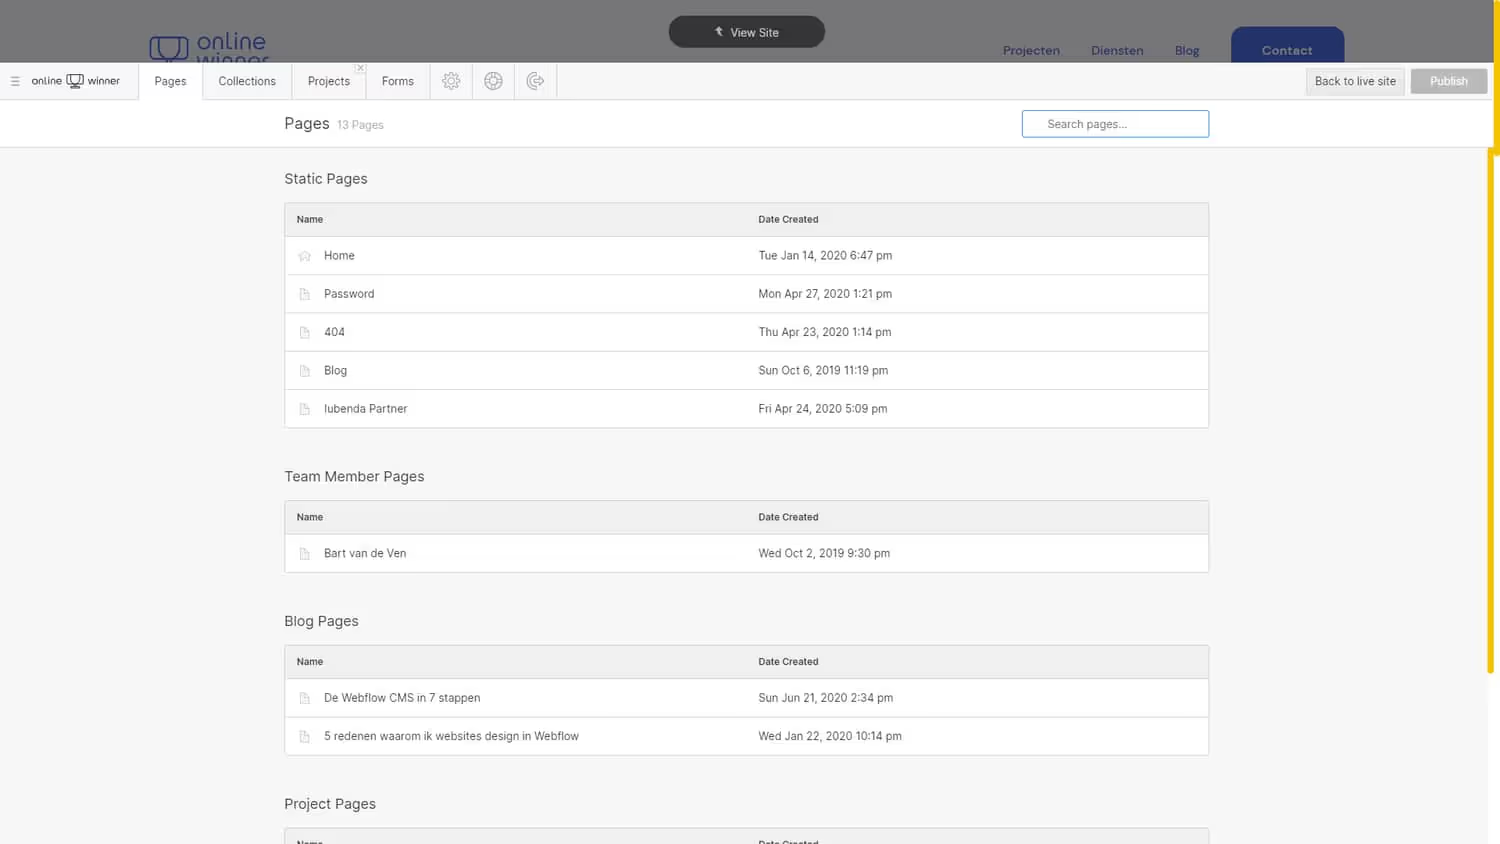
3. Pages (Static Pages) 📖
From the Pages tab, you can view all your pages and collection items. Clicking on one of these items takes you to that page and can then edit it. Of course, the number of pages and collection items varies by website.
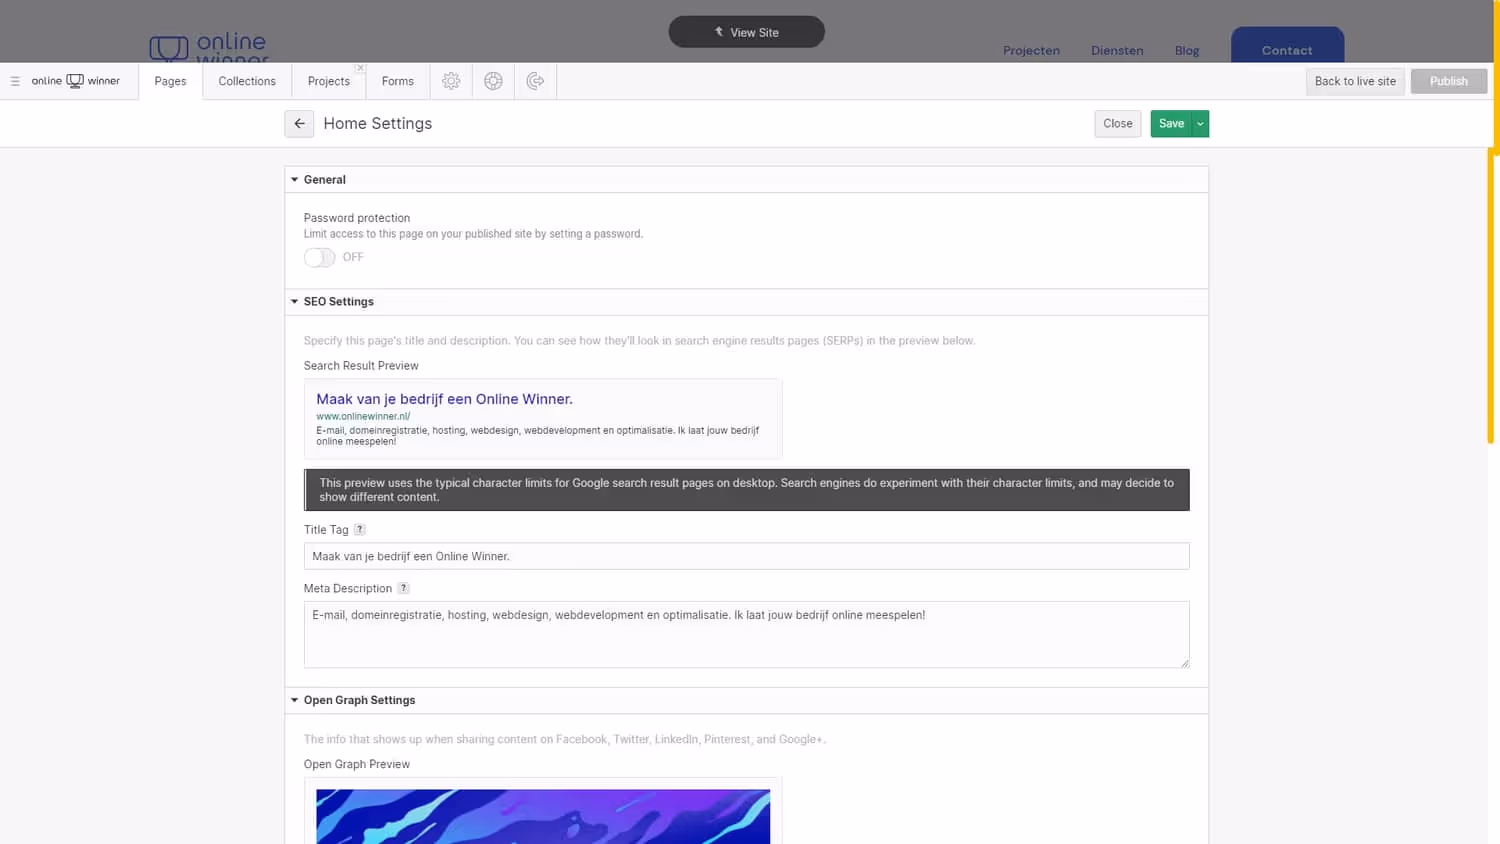
4. Set up SEO per page 🔧
Search engine optimization is a big part of every website. It is therefore important that this is properly set up. This can easily be done via the Webflow CMS. When you are in the Pages tab and move your mouse over a page, you will see the block turn light blue and a button with the text Settings appears on the right side of the bar. From the SEO settings, you can specify which text appears in the search results of search engines, such as Google. My Meta-Title, for example, is: Web design for starters and SMEs in the Veghel region. A Meta-Title should never be longer than 65 characters, so keep that in mind. A Meta-discription has a total of 160 characters.
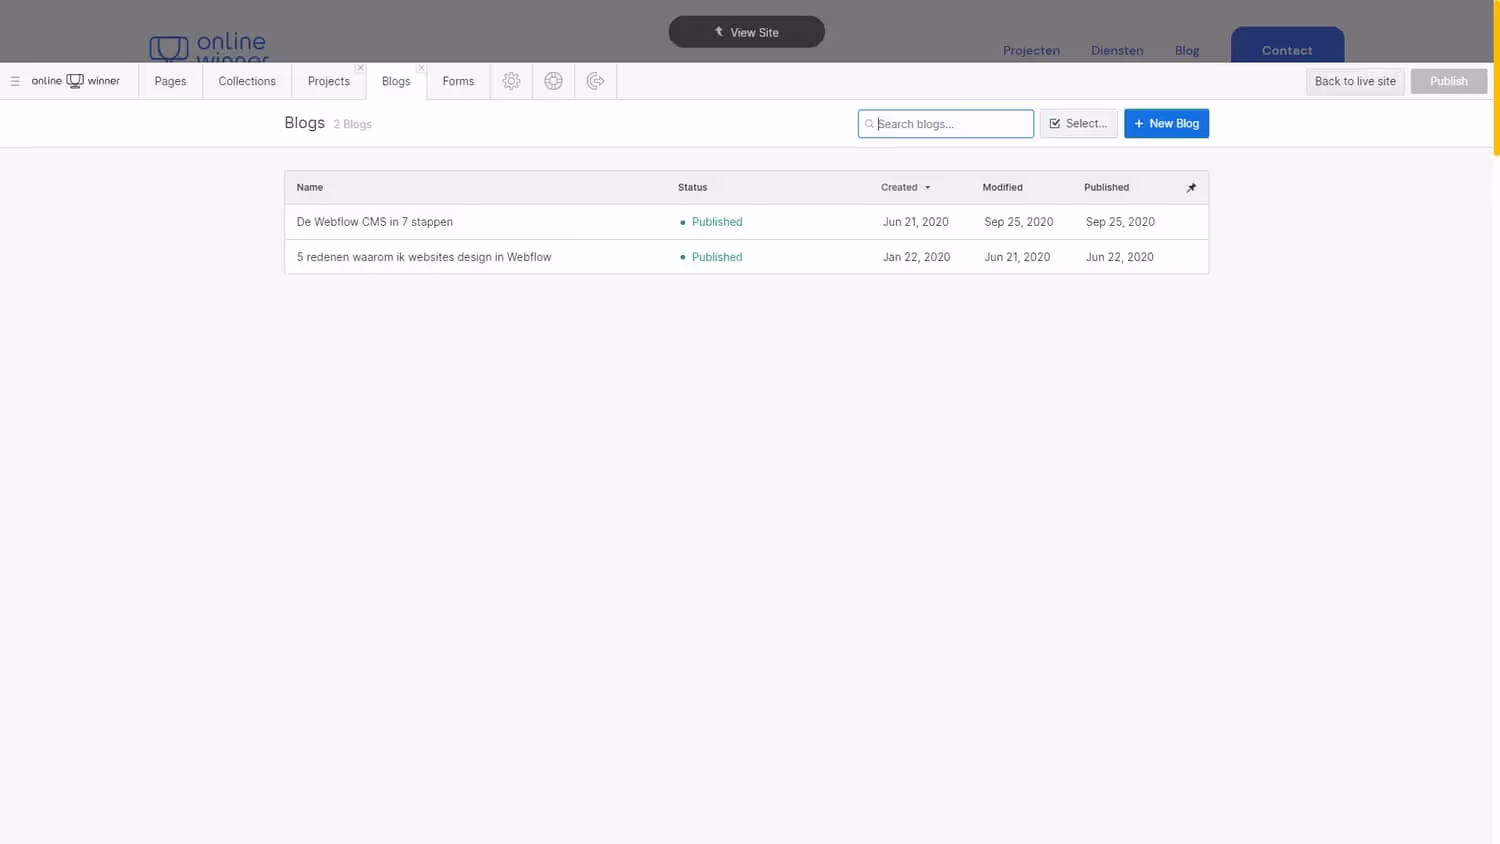
5. Collections (Dynamic Content) 📚
The collections is your dynamic content, which is pages such as news stories, vacancies, blogs and any landing pages that you create to advertise in a targeted way. If you have clicked on a Collection, you will in this case be directed to the blog/news items. Under Status, you can see whether the message has been published, is a draft, or staged for publish. By clicking the green button in the top right corner, you can add a new message.

6. Posts (Blogs, news and more) 📃
When you have clicked on that green button to add a new item to your collection, you will see a screen with fields for the structure of your collection item. This structure is different for each website because each customer has different needs for the items in their CMS. But everything is possible and it is also very user-friendly. You only see fields that you need. Once you've written your message, you can publish it at the top right using the green button, save it as a draft or schedule it.
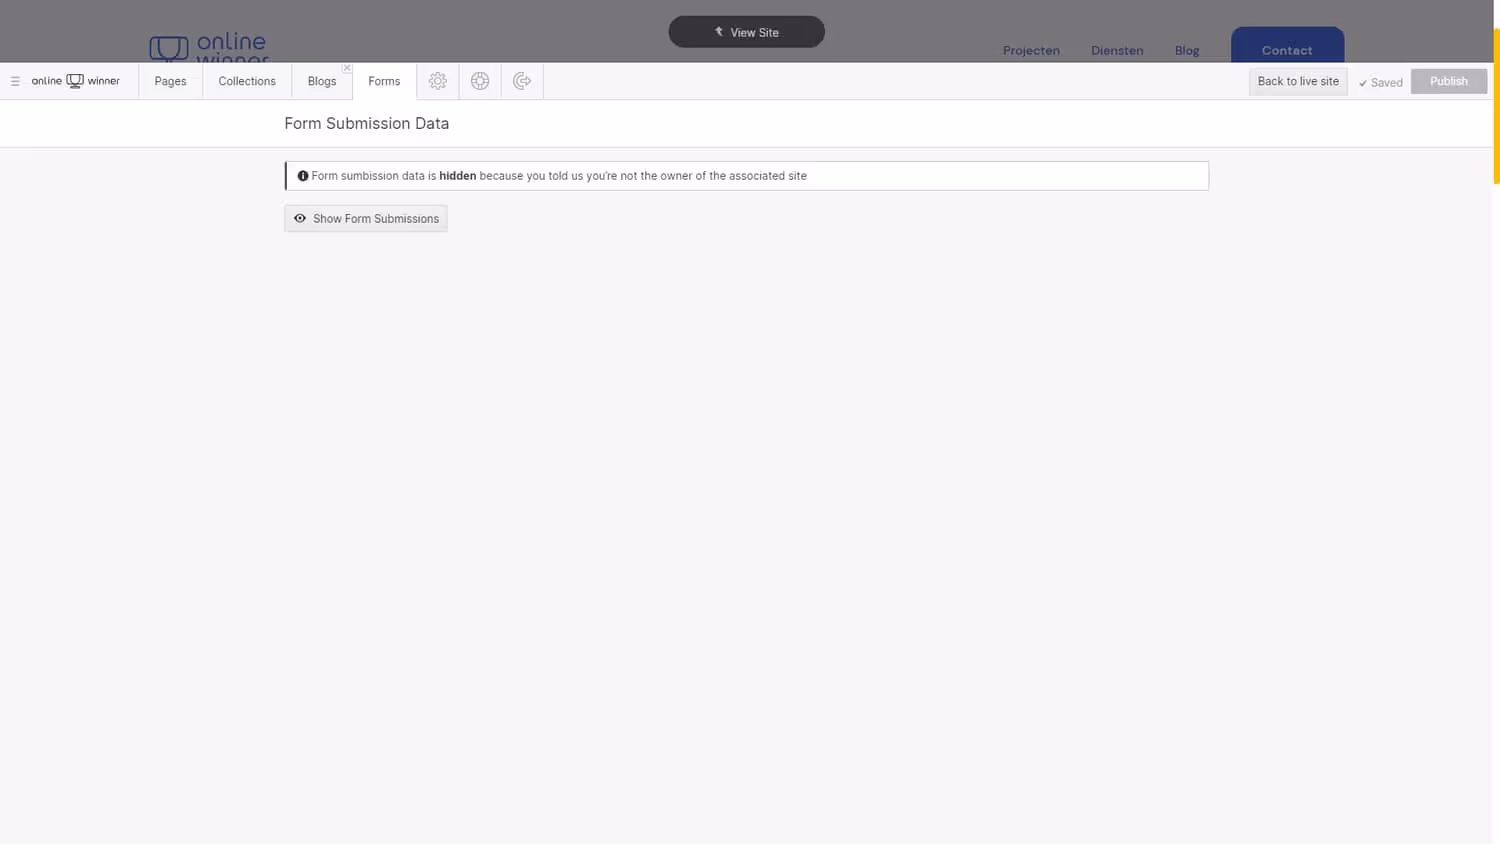
7. Forms (The Contact Form) 📧
Finally, we have the forms. In the forms, you can see all messages that visitors have sent via the contact form on your website. Not every website still uses a contact form these days. But if you do and use Webflow, you can find them here. As you can see in the image, the 'submissions' are hidden. That means that they are disabled for me, but you as a website owner will see them. By the way, these submissions can also be exported to CSV (Excel). But if everything is set up correctly, you will immediately receive an email with the content when a visitor fills out the contact form.
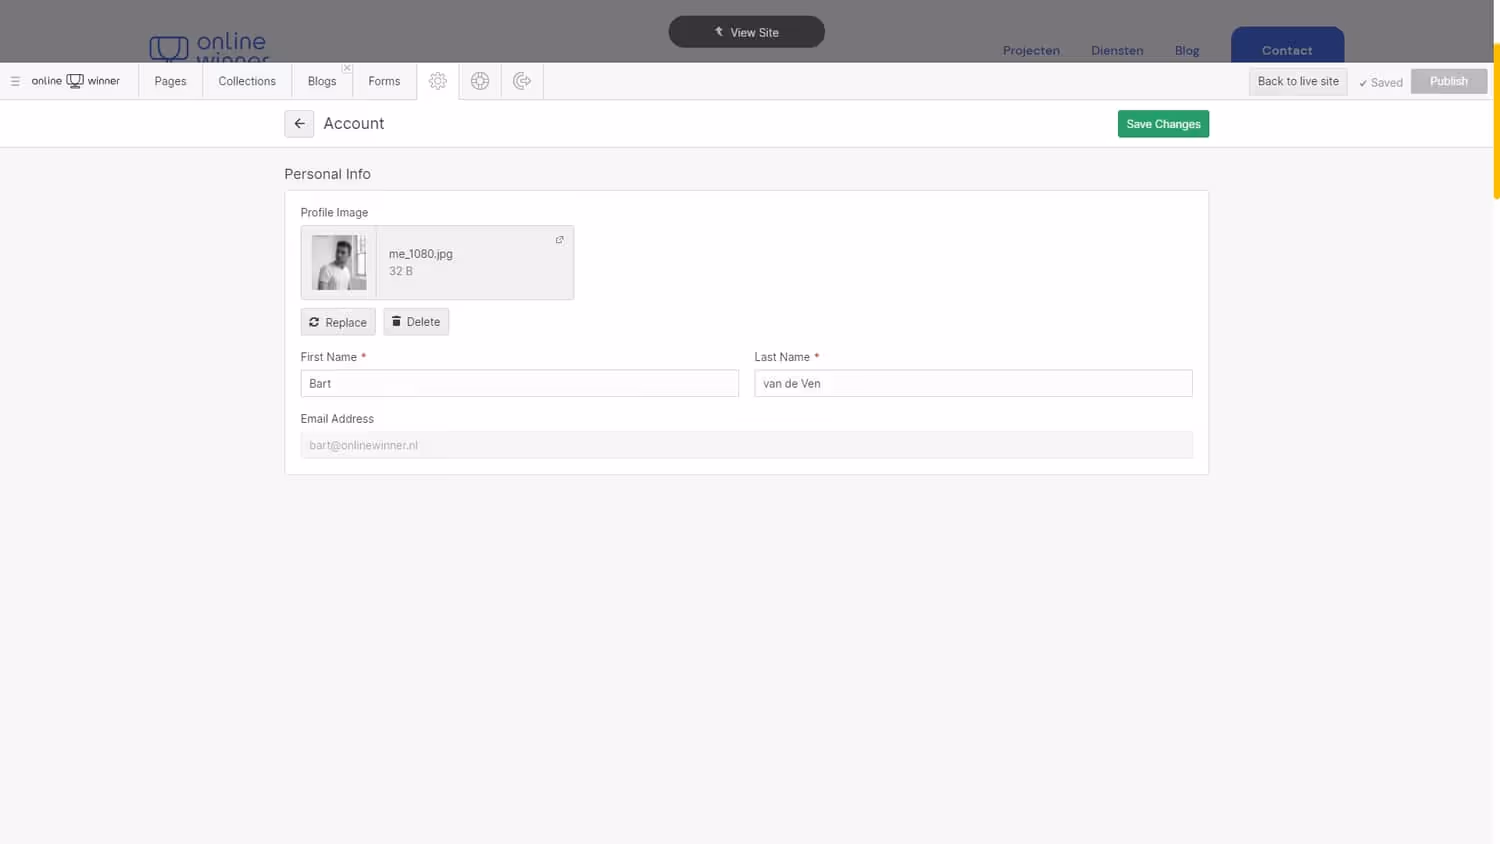
8. Settings (General Affairs) 👦
On this editor tab, you can change your account. Here you can change your profile picture and name. The Webflow Editor doesn't have any more settings, which is only useful because then nothing can go wrong either! 😄
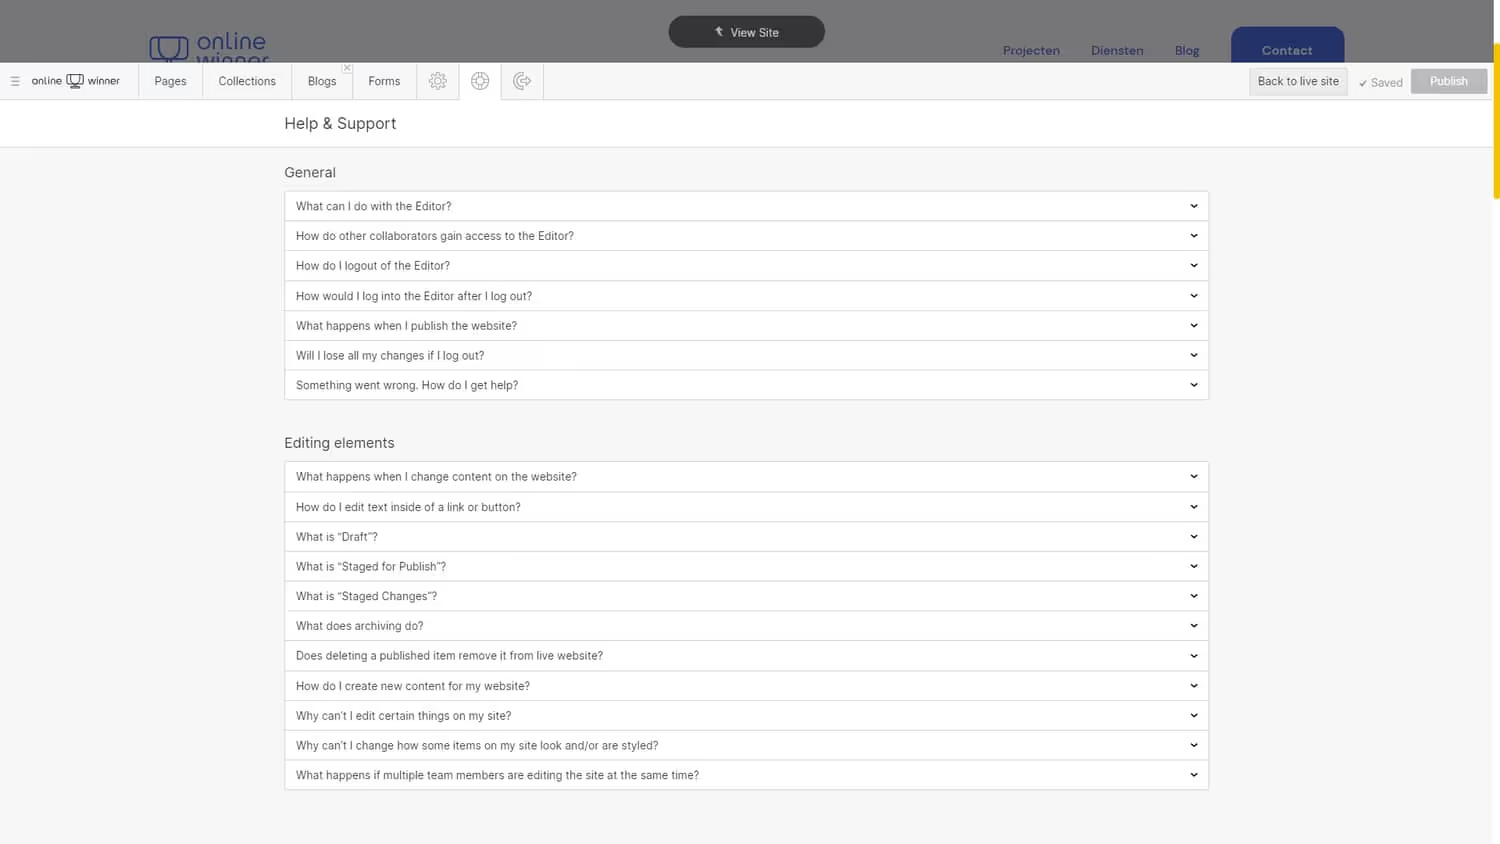
9. Help & support (In case you can't figure it out) 🧰
As you can see, this editor tab contains a lot of items with questions. It's an FAQ with a lot of answers if you can't figure it out while you're posting a blog post, publishing your changes, or logging out, for example. Of course, you can always come to me with questions about the CMS, and I'll be happy to help you.
Last but not least, one of the most important things. Publishing your changes. On the far right side of the Editor menu bar, there is a big “publish” button. If you haven't made any changes, it's grey and you can't click on it. When you've made changes, the button turns green and when you click it, you'll publish your changes.
Broadly speaking, this is the Webflow CMS (Editor), without fuss and therefore very user-friendly. Are you considering moving to Webflow? Get in touch and I'll try to answer your questions as best I can!

Bart is the founder of No Dead Fish and is a Premium Webflow Partner. He writes about Web Design, Web Development, User Experience, Usability, the No-Code Movement and Webflow.